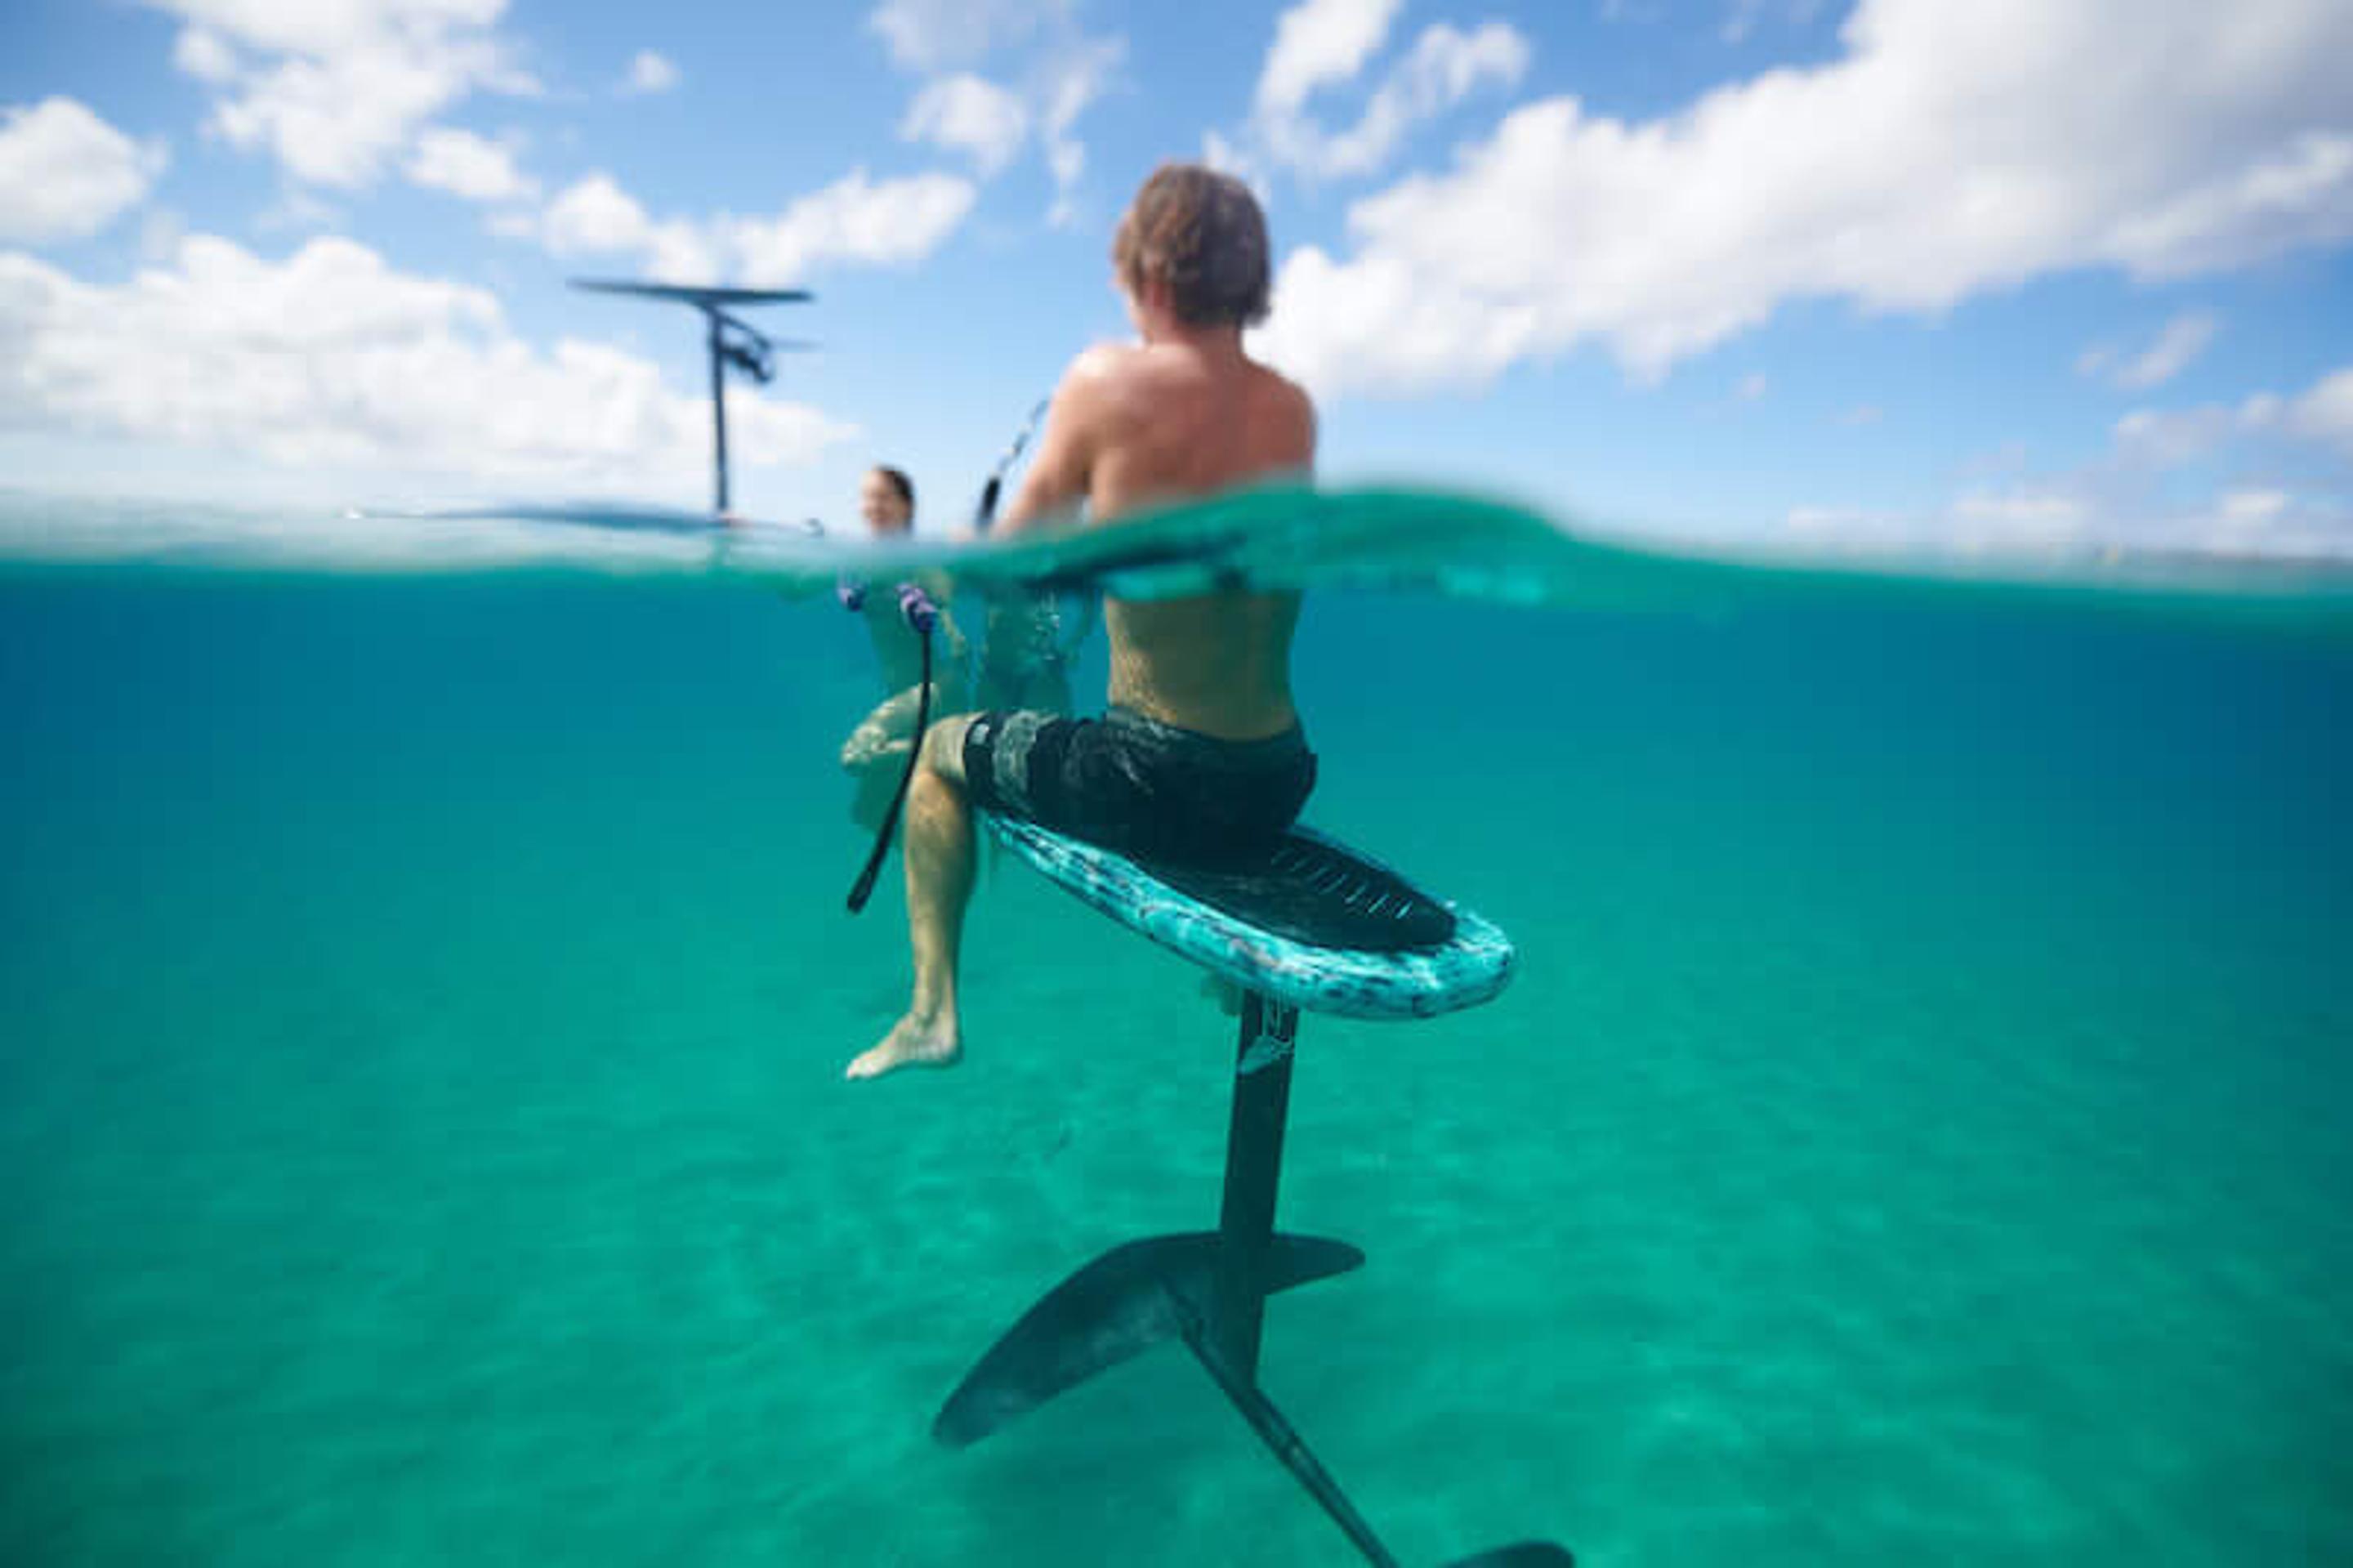
How to foil? Check out this Lift Foils comprehensive guide of surf foiling techniques, tips, and tricks, perfect whether you’re a beginner or a veteran.
If you’re into water sports, you’ve probably come to terms with the fact that hydrofoiling is part of your future. Like with everything in life, the best way to make it part of your present is by getting out there and doing it, but because the foil is such a cool mix of performance and engineering, knowing where to start and imagining how far you can get is also a big part of the process.
We’ve put together this comprehensive guide of basic foiling techniques, tips, and tricks as a place where you can clear up some of your doubts, whether you’re a beginner or a veteran. Also, almost every member of our team is out on the water on a daily basis. We talk about this stuff all the time and get better with each other’s feedback. We’re happy to talk you through any questions or point you towards new ways to ride, so please don’t hesitate to get in touch!

Learning the basics
First rule of hydrofoil club:
Don’t surf at a busy break, especially not when you’re learning. People can get hurt. The main draw of the foil is that it allows you to surf waves that were previously unsurfable by reducing drag and increasing speed. Take advantage of that and go places you couldn’t surf without it.
Where to position your foil:
If you’re kiteboarding: You want your back foot to be on top of (or slightly in front of) the part of the foil that connects to the board (i.e., the mast).
If you’re windsurfing: You want your rear foot to be a couple of inches in front of the center of the mounted foil.
If you’re surfing (or on a paddle board): Where you put your foil on a surfboard depends on the size of your board, on your size and weight, and on the waves you’re thinking of surfing. The longer the board, the further up you want to mount it, but if you’re going to surf big waves you want to move it further back. You want your back foot directly over the mast (or a little further back) and you want your stance to be shoulder width apart (at most).
If you’re eFoiling: If you’re on an eFoil, your board is made specifically for hydrofoiling. The place for you to mount is already specified for you. Nothing to think about here.

Intro, tips, and tricks for classic foil surfing
How to get into the water:
It may sound obvious, but it’s really important to remember that your hydrofoil has sharp edges and could potentially hurt you or someone else if you’re not careful with it. If you’re foil surfing, a good way to avoid accidents is to hold your board as you would a regular board but position the mast of your foil mount behind you and grab the wing with your other hand. Once in the water, don’t flip it over until you’re in chest deep. Then you’re good to go.
If you have access to a boat or a jetski, the easiest way to learn is to get towed. If you’re on a paddle board (easier to get up on, but harder to control once you’re up and flying), you want to be on your knees and then stand up as soon as you feel you’re going fast enough. If you’re on a foiling board, you want to hold on to the side of the board with your feet already positioned flat on the board. When you’re up, keep your feet flat and forward and then start pushing your stance back when you’re already comfortable. When you’re starting, try to stay out of the wake. This will make balance easier.
How to paddle out on a short board:
In the words of Blue Planet Surf’s Robert Stehlik, “to make a short board go straight, the stroke has to be modified. Short strokes pulling towards the feet and ending by the toes seem to work best. You should also angle the blade towards the body, starting the stroke far in front and taking short strokes pulling the board straight forward.” For a more comprehensive explanation, you can watch the video “How to SUP Foil”.
How to pop-up and stand:
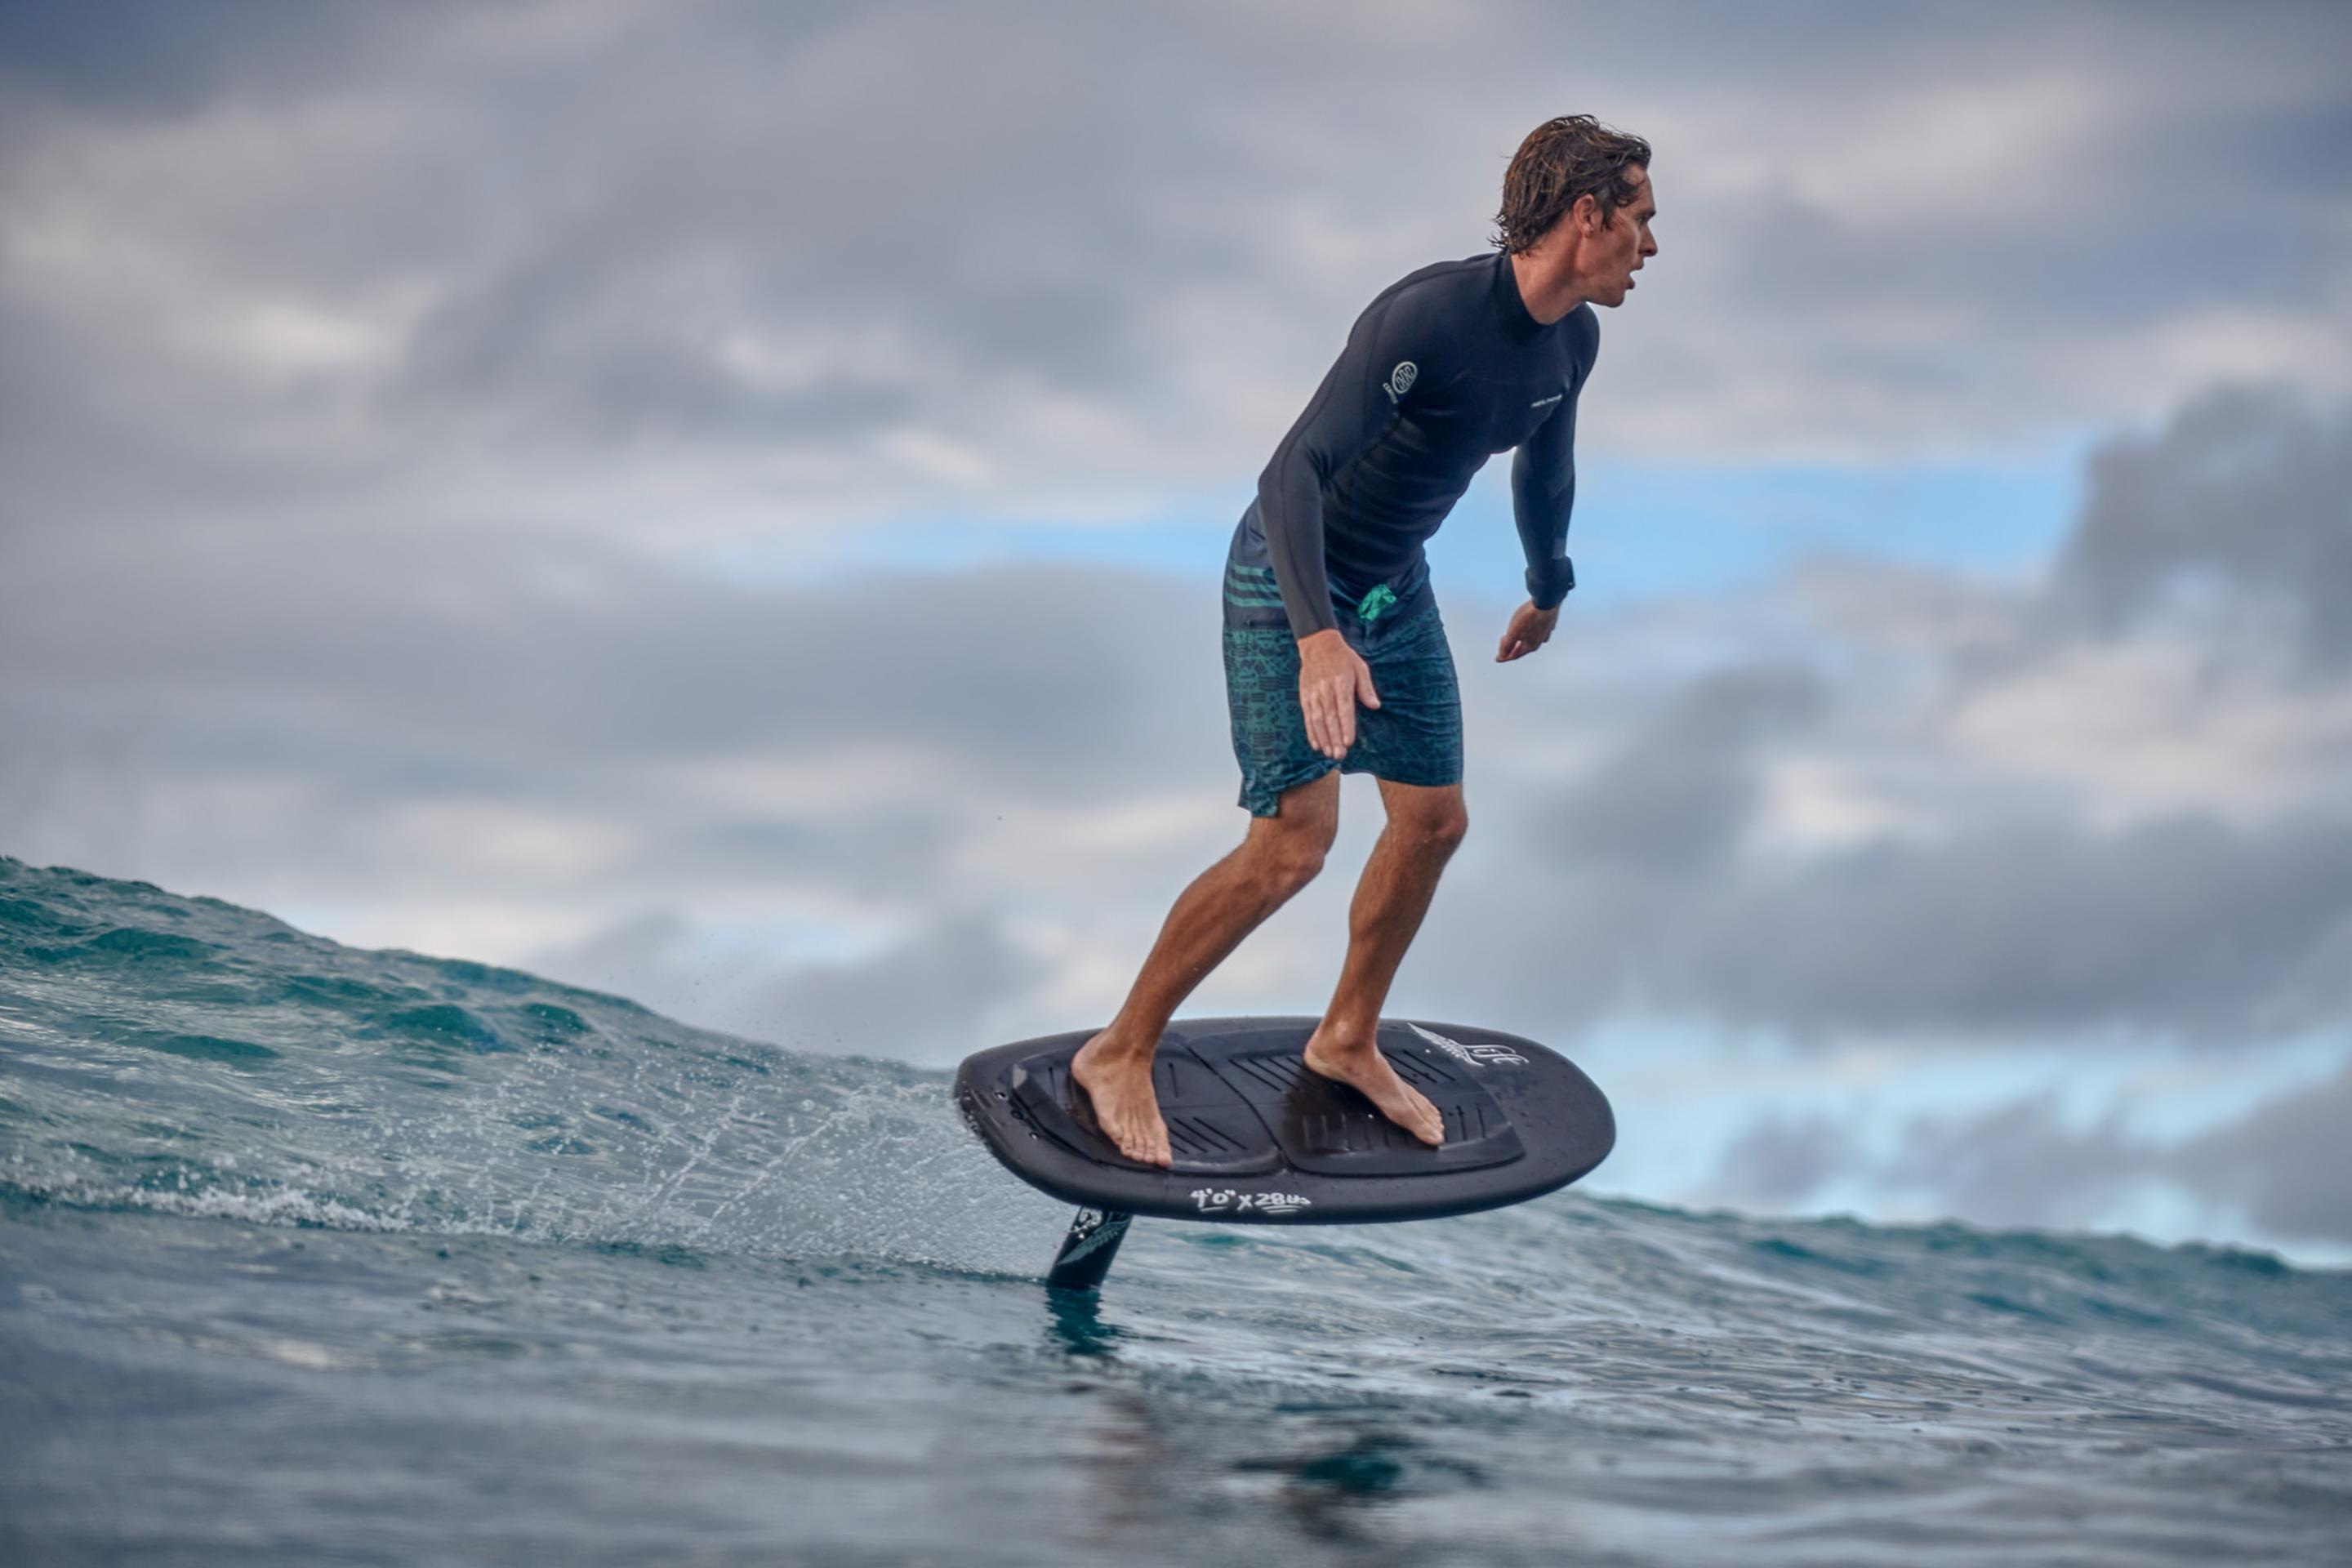
The most important thing to remember when you get up on a board with a foil is where you want your back foot. The right stance means your front foot will be more stable. Much like in snowboarding, your front foot is the one that’s going to be driving you. You also want both of your feet to be in line with each other right down the center of your board. Once you’re up, you want a squat stance and an upright spine. You can help yourself by opening your arms and shoulders, too. This will help you with stability, movement, and balance. As you get better and better, you’ll be able to play with this, but at the beginning, the right distribution of weight is key to keeping you safe and easing you into the insanely new feeling that is flying over water.

Controlling your foil once you’re up:
The most basic concept that you have to understand when you’re up on your foil is that if you put weight on your back foot it propels your board up, and if you put weight on your front foot it brings your board down. The steeper the wave, the more pressure you want to put on your front foot since that will make the wing of the foil parallel to the surface of the water. You want to make sure that you don’t come up too quickly because if the wing comes up out of the water and air gets under it, it’s going to flip your board back. You always want to keep it submerged.
Pumping and carving:
Pumping:
No matter how you look at it, pumping is hard and it takes a lot of strength and energy. Don’t get discouraged if you don’t get it right away. Once you’re ready, use the foil’s natural glide, start lifting your knees towards your center (front foot then back foot) and level out the foil. When you can’t get anything else out of the board’s already existing momentum, put your back foot between the box’s screws and start pumping. How fast you pump depends on the foil setup you’re riding, but a good general rule is that a bigger wing and longer mast make this process easier. Don’t be shy- use your arms, use whatever you can to keep that board out of the water. You have to give it everything you’ve got until you find your sweet spot.
Carving:
The most important thing to remember when you’re carving or turning on a hydrofoil is that it’s all in the knees. Keep low and put pressure on your front foot. The turn is going to increase the wing’s momentum and you need to manage that extra lift by leaning forward. If you’re going at a slower speed you can pivot instead of carving by moving your upper body in the direction you want to turn, following with your legs and then your board. If you’re going faster, then your turn will have to be wider. Board, wing, and mast sizes are also super important when you’re turning on a hydrofoil. A smaller, lighter board and a smaller wing make maneuvering easier. A longer mast gives you longer curves, but a short one is easier to control.
And speaking of gear…
How do you choose the setup that’s best for you? Your best-fitting gear will depend on three basic factors:
- your size;
- your level of expertise;
- the weather conditions you’re mostly going to be working with.
Boards are pretty self explanatory- a bigger, heavier board is going to give you more stability and is going to be easier to learn on, while a smaller board is going to be faster and allow you more maneuverability. Same goes for wings: a larger, mid-aspect wing will make it easier to balance while a smaller high-aspect wing will make your ride sharper and more agile. For masts it’s the opposite: a longer mast is going to allow you even less drag, which will make tricks more versatile, but a shorter one makes learning and balancing a lot easier. Whatever your level of expertise, our Lift 2021 lineup comes in all shapes and sizes and has been fine tuned by master craftsmen out of the most durable and efficient materials on the market.
In short
There’s a lot more where that came from: ollies, airs, towing in to massive swells. If you’re not on our mailing list yet, sign up and we’ll continuously keep you up to speed on what the Lift fam is up to: our riders are constantly achieving impressive feats that keep us all on our feet. Also, if you have any questions, please write to us or call us. We really believe that the more feedback we get, the better our product can be.

